GeekOS project 0的实现
在上一篇博客中我们完成了GeekOS环境的配置,下面我们来验证环境配置的成功与否以及project 0的实现。
编写C语言代码
编写geekos-version/src/projecti/src/geekos/main.c文件
编写函数project0实现检测键盘输入Ctrl+d结束线程。
void project0(){
    Print("To Exit hit Ctrl + d.\n");
    Keycode keycode;
    while(1)
    {
        if(Read_Key(&keycode))
        {
            if(!((keycode & KEY_SPECIAL_FLAG) || (keycode & KEY_RELEASE_FLAG)))// 不是特殊键或者弹起
            {
                int asciiCode = keycode & 0xff;//d
                if((keycode & KEY_CTRL_FLAG)==KEY_CTRL_FLAG && asciiCode=='d')//ctrl+d
                {
                    Print("\n---------Adios!---------\n");
                    # 这里需要注意素质
                    Exit(1);
                }else
                {
                    Print("%c",(asciiCode=='\r') ? '\n' : asciiCode);
                }
            }
        }
    }
}
在main函数中添加以下代码,实现自定义函数的调用,创建线程。
    struct Kernel_Thread *thread;
    thread = Start_Kernel_Thread(&project0,0,PRIORITY_NORMAL,false);
总体代码
/*
 * GeekOS C code entry point
 * Copyright (c) 2001,2003,2004 David H. Hovemeyer <daveho@cs.umd.edu>
 * Copyright (c) 2003, Jeffrey K. Hollingsworth <hollings@cs.umd.edu>
 * Copyright (c) 2004, Iulian Neamtiu <neamtiu@cs.umd.edu>
 * $Revision: 1.51 $
 *
 * This is free software.  You are permitted to use,
 * redistribute, and modify it as specified in the file "COPYING".
 */

#include <geekos/bootinfo.h>
#include <geekos/string.h>
#include <geekos/screen.h>
#include <geekos/mem.h>
#include <geekos/crc32.h>
#include <geekos/tss.h>
#include <geekos/int.h>
#include <geekos/kthread.h>
#include <geekos/trap.h>
#include <geekos/timer.h>
#include <geekos/keyboard.h>

void project0(){
    Print("To Exit hit Ctrl + d.\n");
    Keycode keycode;
    while(1)
    {
        if(Read_Key(&keycode))
        {
            if(!((keycode & KEY_SPECIAL_FLAG) || (keycode & KEY_RELEASE_FLAG)))// 不是特殊键或者弹起
            {
                int asciiCode = keycode & 0xff;//d
                if((keycode & KEY_CTRL_FLAG)==KEY_CTRL_FLAG && asciiCode=='d')//ctrl+d
                {
                    Print("\n---------Adios! Motherfucker!---------\n");
                    Exit(1);
                }else
                {
                    Print("%c",(asciiCode=='\r') ? '\n' : asciiCode);
                }
            }
        }
    }
}


/*
 * Kernel C code entry point.
 * Initializes kernel subsystems, mounts filesystems,
 * and spawns init process.
 */
void Main(struct Boot_Info* bootInfo)
{
    Init_BSS();
    Init_Screen();
    Init_Mem(bootInfo);
    Init_CRC32();
    Init_TSS();
    Init_Interrupts();
    Init_Scheduler();
    Init_Traps();
    Init_Timer();
    Init_Keyboard();

    Set_Current_Attr(ATTRIB(BLACK, GREEN|BRIGHT));
    Print("Welcome to GeekOS!\n");
    Set_Current_Attr(ATTRIB(BLACK, GRAY));

    // TODO("Start a kernel thread to echo pressed keys and print counts");

    struct Kernel_Thread *thread;
    thread = Start_Kernel_Thread(&project0,0,PRIORITY_NORMAL,false);

    /* Now this thread is done. */
    Exit(0);
}
使用Linux的编译系统对C语言代码进行编译
每一个项目的编译都在geekos-version/src/projecti/build文件夹下进行,即要在终端中通过cd进入该目录。
执行
make depend
make
此时,该目录下会生成bochs.out、depend.mak以及fd.img文件,bochs.out文件是日志输出文件,depend.mak是编译中间生成的文件,最终生成的fd.img是最重要的GeekOS映像文件,有了它才能使用bochs运行GeekOS操作系统。感恩它!
目录下的文件应该是这样的结构:

下面就可以使用bochs运行GeekOS系统了,可以说bochs的运行依赖两个文件,一个是配置文件.bochsrc,一个是映像文件fd.img,映像文件的加载路径需要在.bochsrc文件中定义,在环境配置的博客中已经介绍过了。这里再贴一下内容。
# An example .bochsrc file.
# You will need to edit these lines to reflect your system.
vgaromimage: file=/usr/local/share/bochs/VGABIOS-lgpl-latest
# 请根据自己的实际安装路径更改
romimage: file=/usr/local/share/bochs/BIOS-bochs-latest
# 请根据自己的实际安装路径更改
megs: 8
boot: a
floppya: 1_44=fd.img, status=inserted
#floppya: 1_44=fd_aug.img, status=inserted
log: ./bochs.out
# keyboard_serial_delay: 200
# vga_update_interval: 300000
mouse: enabled=0
private_colormap: enabled=0
# i440fxsupport: enabled=0
# Uncomment this to write all bochs debugging messages to
# bochs.out.  This produces a lot of output, but can be very
# useful for debugging the kernel.
#debug: action=report
在这个目录下打开终端,执行
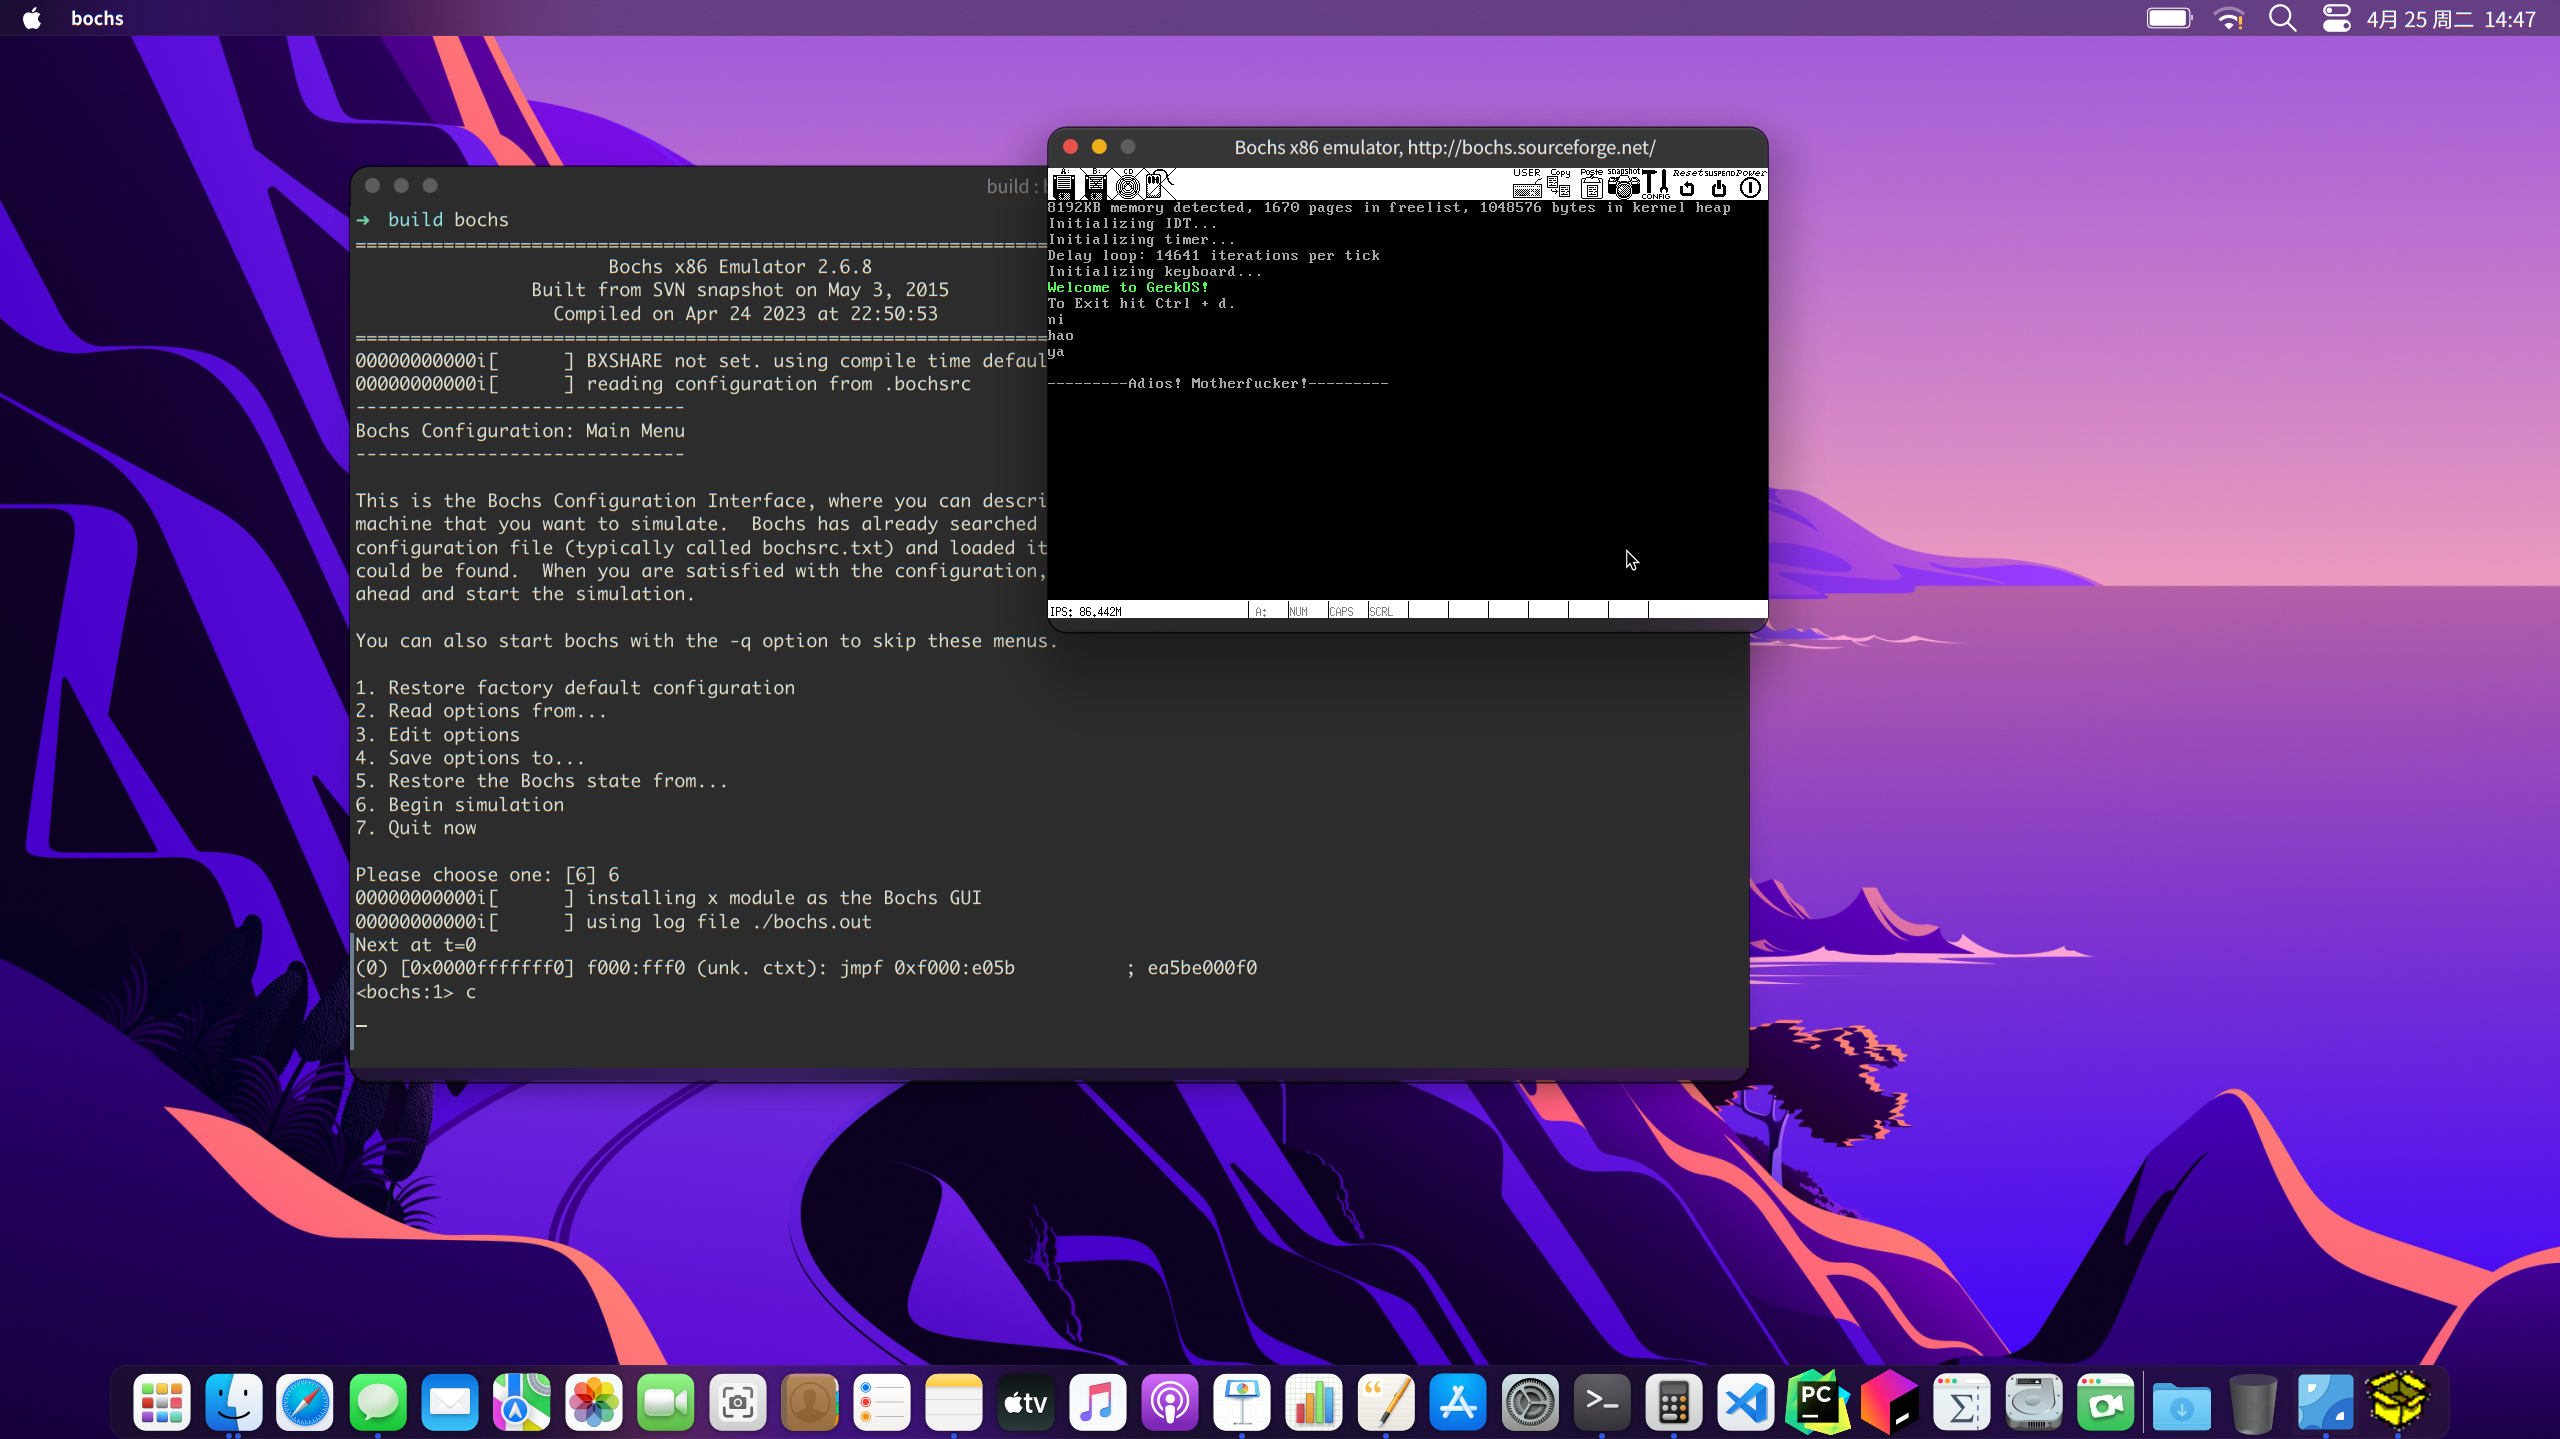
bochs
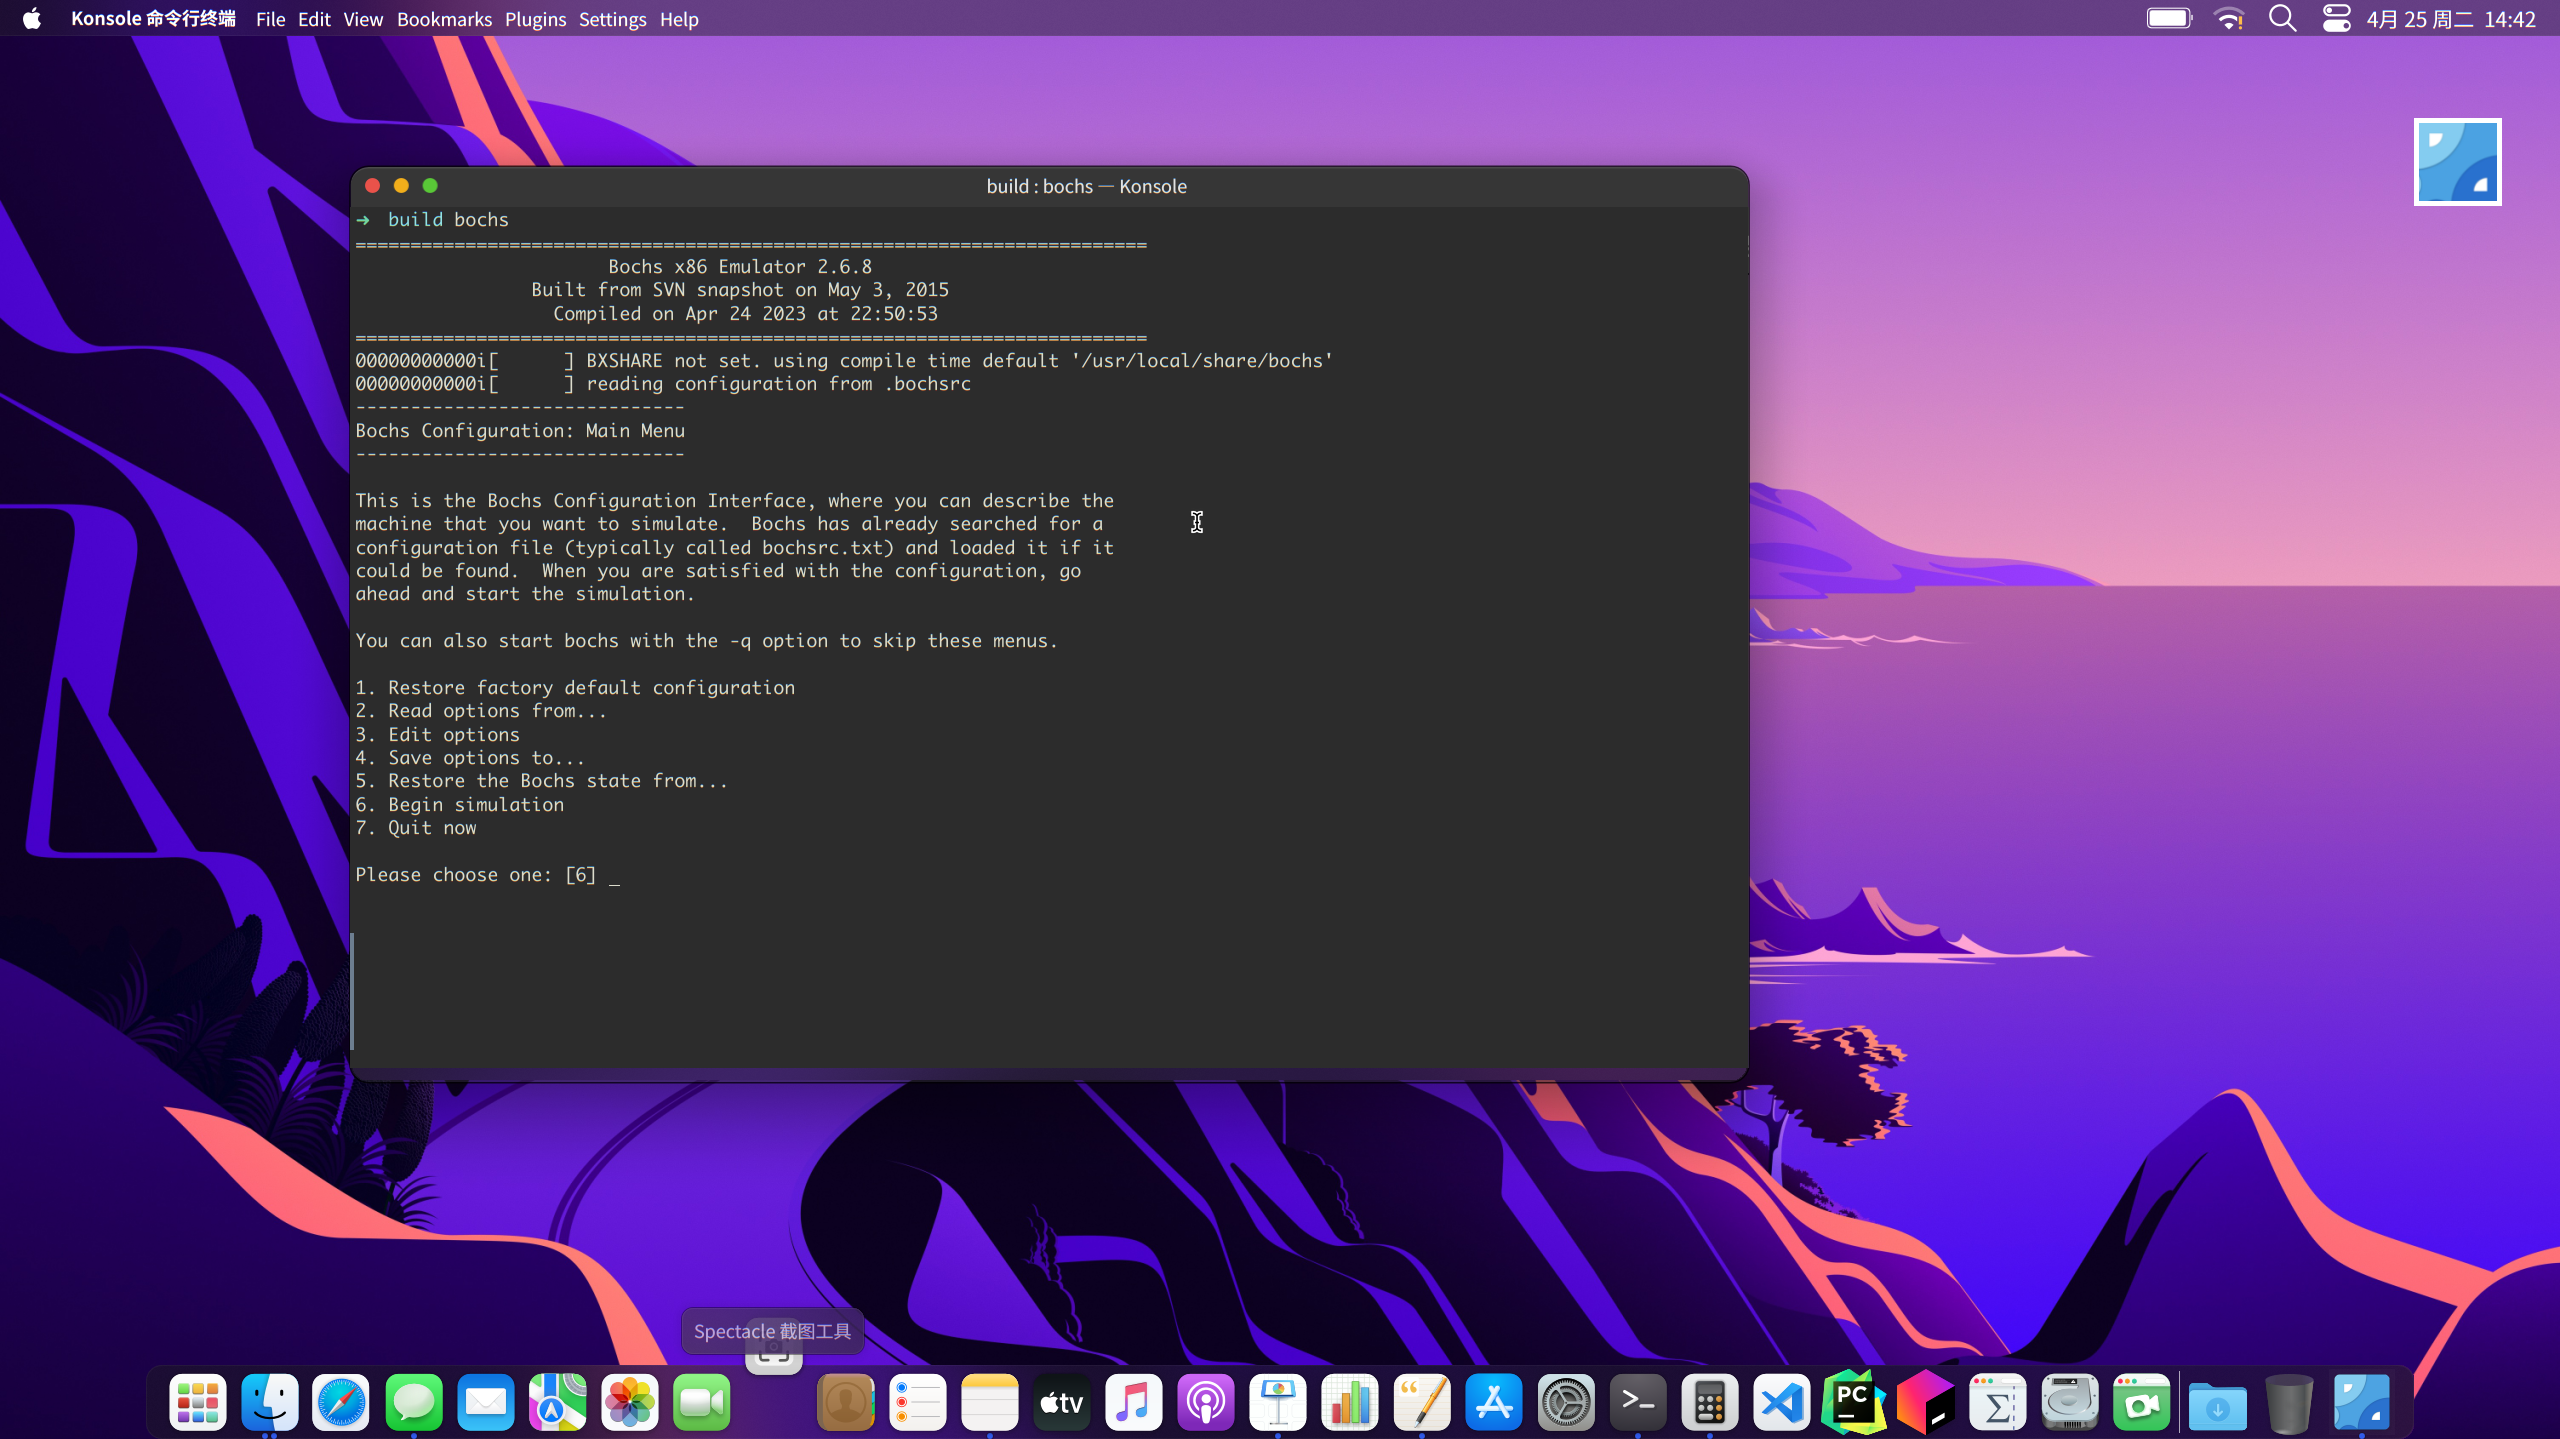
选择6,按下回车

可能会出现黑屏情况,这是因为进入了调试模式,终端正在等待命令,在终端输入
c
即可完成bochs的正式启动,最终的效果